How to Remove Black Mould From Walls (Step-by-Step Guide)
- jstepanovic0
- Mar 17
- 3 min read
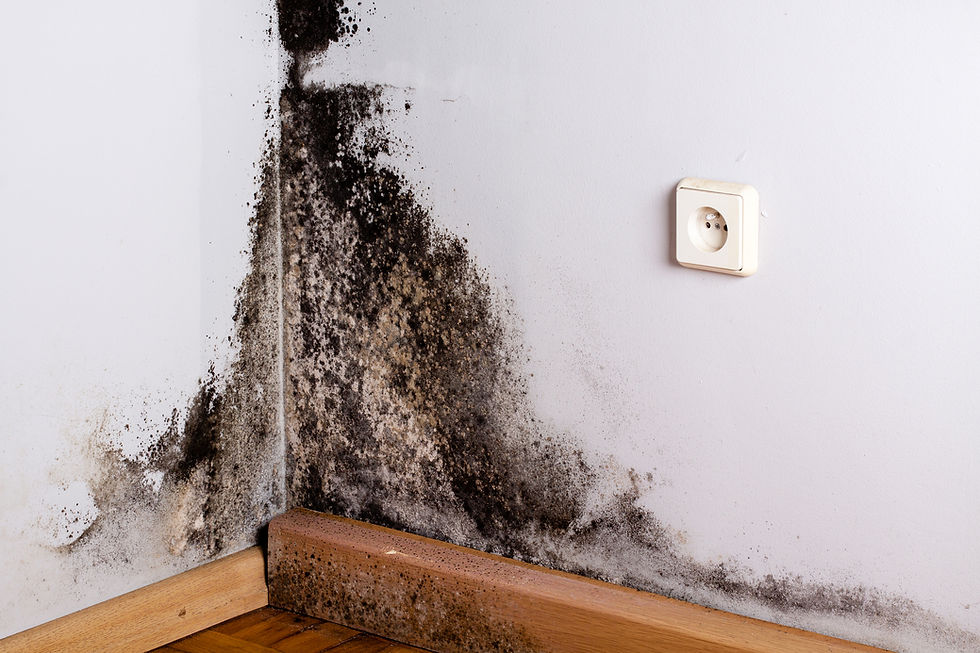
Black mould on walls is one of the most common problems in UK homes. It usually appears as dark patches in corners, around windows, behind furniture, or on bathroom walls. While many people try to remove it with bleach, this often only treats the surface and the mould quickly returns.
The good news is that with the right approach you can remove mould and help prevent it from coming back.
Step 1: Identify the Cause of the Mould
Before removing mould, it’s important to understand why it formed.
Common causes include:
condensation from warm air hitting cold walls
poor ventilation in bathrooms or kitchens
drying clothes indoors
blocked airflow behind furniture
poorly insulated walls
If the underlying moisture issue isn’t addressed, mould will often return.
Step 2: Prepare the Area
Before treating mould with Hungry Mould Eater, do not use any chemical fungicides or conventional cleaning products on affected walls ideally for two weeks prior to Hungry Mould Eater Treatment. Doing so could hurt the microorganisms responsible for eating the black mould!
mix the Hungry Mould Eater with warm water (DON'T use boiling water), leave to activate for five minutes, then spray water on the mould or use paint roller to soak the mould liberally
once the wall is wet, scrub off the mould with wet cloth or wet sponge - make sure you DON'T SCRUB DRY MOLD off the wall. Doing so would make the mould airborne and would spread everywhere
wear gloves if you are sensitive to mould
Step 3: Paint over if necessary, treat for prevention
Once the Wall is dry, decide whether there is a stain from mould that needs to be painted over. If that's the case, a stain blocker may be needed first. After the stain blocker dried properly, mix standard wall paint (DO NOT USE FUNGICIDAL PAINT, because it could hurt the microorganisms) with Hungry Mould Eater.
Drop the celulose bag in small amount of water, it will disolve. then mix with paint 2 grams into 5 liters of paint.
In case painting is not needed, go straight into the prevention treatment: on a dry wall, spray or roll the solution and let it dry. Congratulations, your house is now set for years!
Your new microbiological friend will hang aroung and actively attack any new mould that could try to form!
Step 4: Improve Ventilation
To reduce the chance of mould returning:
use extractor fans in bathrooms and kitchens
open windows when possible
avoid drying clothes indoors without ventilation
keep air circulating behind furniture
These small changes make a big difference.
A Long-Term Solution to Mould
Removing mould isn’t just about cleaning the surface. It’s about preventing it from coming back.
By combining good ventilation with a biological mould treatment that continues protecting the wall, such as Hungry Mould Eater, you can create a long-term solution rather than constantly cleaning the same spots again and again.
Traditional mould cleaners rely on bleach or harsh chemicals. These often remove the visible stain but don’t deal with the root of the problem.
A different approach is using a biological mould treatment that contains live microorganisms.
These microorganisms naturally feed on mould and break it down. Once applied, they remain on the surface and continue protecting the wall by preventing new mould from forming.
Unlike bleach products that only work temporarily, the microorganisms can remain active on the surface for anywhere from one to five years, helping stop mould from returning.
Another advantage is that the same types of microorganisms are used in other everyday products, including mouthwash, which means they are safe for people and animals.


Comments